
Introduction
Ever wondered how to set up a local Kubernates cluster for development, testing or learning purposes? Minikube offers the easiest solution for that. With this tutorial I’m going to guide you through the process of deploying a single node Kubernates cluster using Minikube.
What you’ll need
- Internet connection
- 2 CPUs or more
- 2GB of free memory
- 20GB of free disk space
What is Minikube?
Minikube is a tool that makes the provisioning of single node Kubernates clusters easier. It is important to note that this is mostly used for development, testing or learning purposes not in production environments.
Step 1: Docker Installation
Minikube needs a container runtime to run the Kubernates cluster. If you have already installed one, you can skip this step.
Add Docker’s GPG key
sudo apt-get update
sudo apt-get install -y ca-certificates curl

sudo install -m 0755 -d /etc/apt/keyrings
sudo curl -fsSL https://download.docker.com/linux/ubuntu/gpg -o /etc/apt/keyrings/docker.asc
sudo chmod a+r /etc/apt/keyrings/docker.asc
Add official repository
echo \
"deb [arch=$(dpkg --print-architecture) signed-by=/etc/apt/keyrings/docker.asc] https://download.docker.com/linux/ubuntu \
$(. /etc/os-release && echo \"${UBUNTU_CODENAME:-$VERSION_CODENAME}\") stable" | \
sudo tee /etc/apt/sources.list.d/docker.list > /dev/null

sudo apt-get update
Install Docker packages
sudo apt-get install -y docker-ce docker-ce-cli containerd.io docker-buildx-plugin docker-compose-pluginAdd current user to the
dockergroup so that you don’t needsudofor Docker commands.sudo usermod -aG docker $USER
Step 2: Minikube Installation
Download Minikube binary from the official repository and install.
curl -LO https://github.com/kubernetes/minikube/releases/latest/download/minikube-linux-amd64
sudo install minikube-linux-amd64 /usr/local/bin/minikube
rm minikube-linux-amd64
Start Minikube
minikube start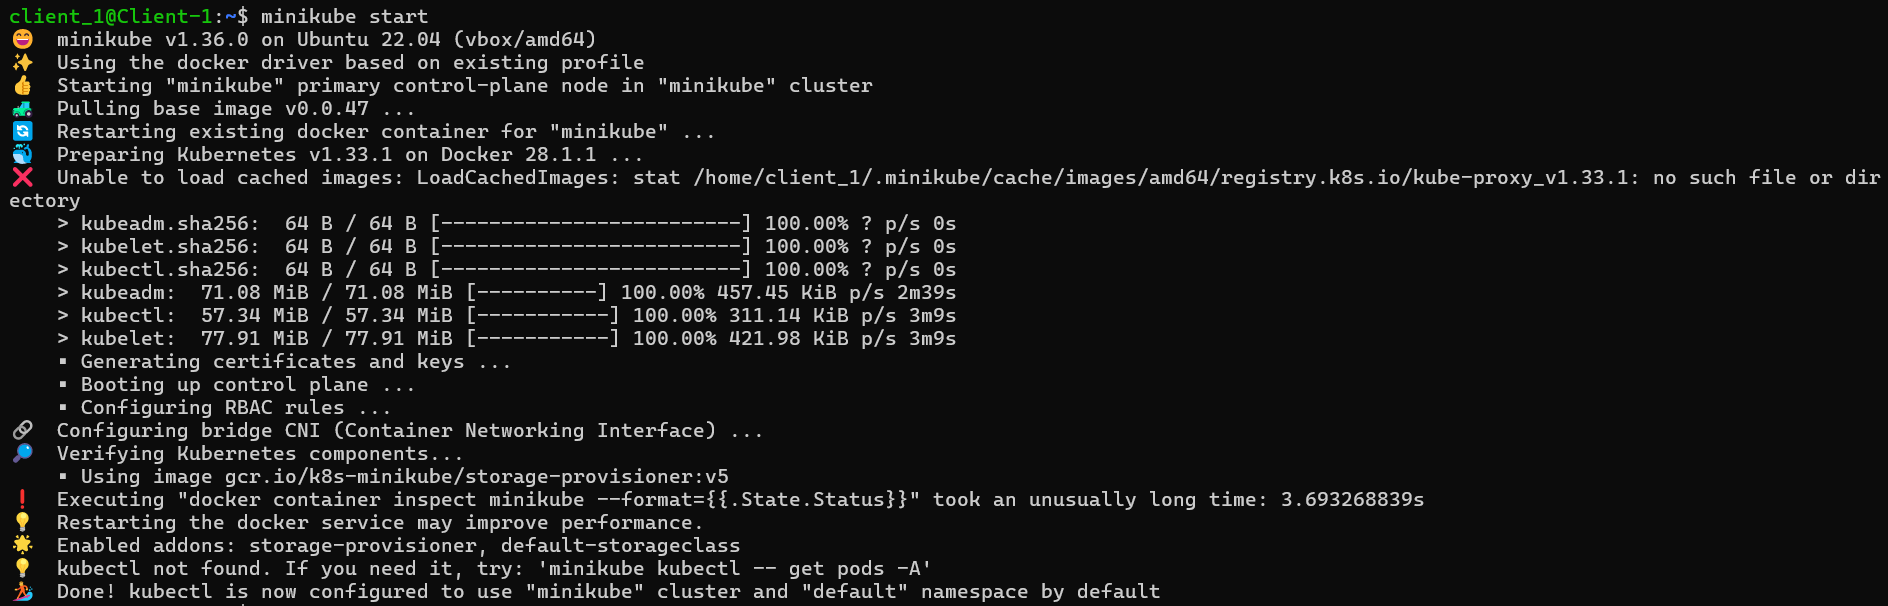
Step 3: Install kubectl
Install kubectl tool.
Note: This guide is for Linux. To see the installation process for other operating systems read this documentation.
Download the latest release binary
curl -LO "https://dl.k8s.io/release/$(curl -L -s https://dl.k8s.io/release/stable.txt)/bin/linux/amd64/kubectl"Install kubectl
sudo install -o root -g root -m 0755 kubectl /usr/local/bin/kubectl
Step 4: Verify Cluster Creation
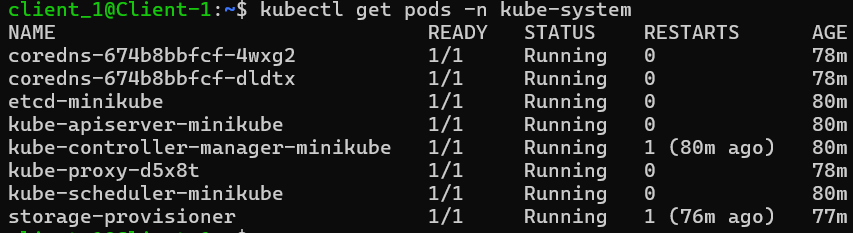
View
kube-systempodskubectl get pods -n kube-systemYou’ll see an output similar to this.
Access Minikube Dashboard
minikube dashboardYou’ll see the kubernates dashboard opened in a browser window like below.

You can now use
kubectlto create any deployment, service, or any other Kubernetes resource inside the cluster. For example, to create a simple deployment, you can run:kubectl create deployment hello-minikube --image=nginx
Useful Minikube Commands
- Stop the Minikube cluster:
minikube stop - Delete the Minikube cluster:
minikube delete - Restart the Minikube cluster:
minikube start - Check the status of the Minikube cluster:
minikube status
Conclusion
Congratulations! You have successfully set up a single-node Kubernetes cluster using Minikube. You can now deploy applications, test configurations, and learn more about Kubernetes in a local environment.